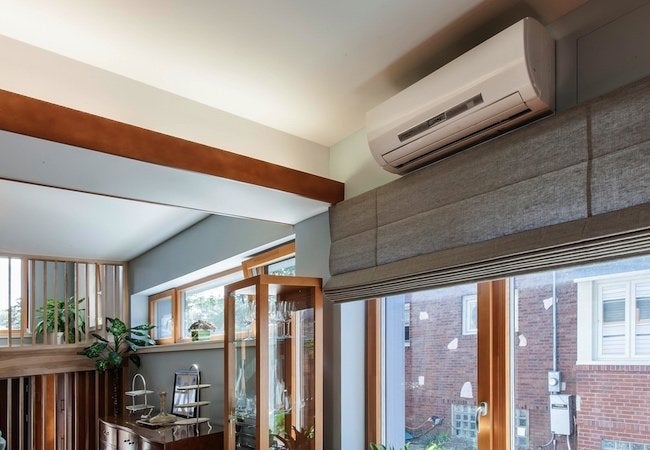
When it comes to maintaining the efficiency and functionality of your mini-split air-conditioning unit, a condensate pump plays a vital role in preventing condensation from dripping and causing damage. If you’re uncertain about the process of installing a condensate pump for your mini-split air conditioner, you’re in luck! This guide will walk you through the steps to ensure a smooth installation process.
To ensure a successful installation, always refer to the manufacturer’s instruction manual. However, for a general overview of how to install a condensate pump for your mini-split unit, consider the following steps:
Keep The Instruction Manual Handy
The instruction manual that accompanies the condensate pump is your best companion throughout the installation process. Following the manual’s guidelines accurately is crucial not only to ensure proper installation but also to uphold the warranty terms and conditions.
Turn Off The Unit

Safety should be your top priority. Before starting the installation, turn off the mini-split unit to avoid any risk of electrocution. Handling electrical components requires caution, so make sure to disconnect the power source.
Check Voltage Compatibility
Understanding the voltage requirements of your mini-split unit is essential before proceeding with connecting the pump wires. This step helps prevent potential short circuits. Mini-split units typically operate at voltages of 110 volts, 115 volts, or 120 volts, depending on the brand.
Feed Pump Wires
Gently thread the pump wires down through a hole parallel to the copper tubing of your mini-split unit. This can be done through the air handler, evaporator casing, or above the ceiling, provided there’s enough space for the wires.
Connect Pump Wires
Follow the instructions provided in the manual to connect the pump wires to the mini-split unit’s wires. While wire colors may differ, the connection process remains consistent. Larger wires usually power the pump, while smaller wires serve to break the circuit.
Secure Tubing With Velcro
Run the tubing behind the mini-split unit to achieve a clean and neat installation. Secure the tubing in place using Velcro strips, which help conceal the tubing while keeping it organized.
Attach Hose To Pump
Create a clean and secure connection by attaching the hose from the pump to the reservoir. Proper hose attachment ensures efficient drainage and prevents leaks.
Use Zip Ties For Stability
Prevent the tubing and reservoir from detaching by using zip ties to secure them in place. This step ensures the longevity of the installation and prevents accidental disconnections.
Test For Functionality And Leaks

Before relying on the pump, perform a thorough test to ensure it operates correctly and doesn’t leak. Fill the pump basin with water and activate the pump. It should interrupt the system’s operation, indicating proper functionality.
Understanding The Significance Of Condensate Pumps In Mini-Split Units
The installation of a condensate pump is a critical aspect of maintaining mini-split air-conditioning systems. These pumps become indispensable when gravity alone cannot efficiently drain accumulated water. Improper drainage can lead to water damage and potential electrical hazards. Here’s a detailed breakdown of the installation steps and how condensate pumps function:

Components Of A Condensate Pump
A basic condensate pump consists of three key components: the pump itself, an internal float or floater, and a reservoir. Some models include condensate alarms that trigger circuit breaks in the event of a reservoir overflow.
Operation Of A Mini-Split Condensate Pump
Condensate pumps are designed to transfer liquid from a central collection point to a remote location, such as a drain or utility sink. As air conditioners cool or heat, they produce condensation. While most mini-split units can expel condensate through gravity, certain installations necessitate the assistance of pumps. This is particularly true for units positioned below ground level, where gravity drainage isn’t feasible.
The condensate pump comes into play by collecting and pumping out accumulated condensation. When the liquid reaches a certain level, the detection unit or float switch activates the pump. The pump then expels the condensate until more room is available for further collection. In cases of malfunction, some pumps include a two-way stage that triggers a circuit breaker or alarm if the liquid level continues to rise.
Advantages Of A Condensate Alarm
Installing a condensate alarm alongside your pump provides an additional layer of protection. While the pump prevents excessive condensate buildup, an alarm serves as an early warning system against potential leaks and overflows. This helps prevent water-related electrical damage that could compromise the functionality of your mini-split unit.
Maintenance And Cleaning
While professional HVAC servicing is recommended, you can undertake basic cleaning procedures to ensure your pump’s optimal performance. Prioritize safety by disconnecting the power source before cleaning. Use a bottle brush to unclog drain line openings and rinse the pump. Be cautious not to saturate the pump, as excess water can damage its components. For algae buildup, scrub the reservoir and add algae prevention tablets.
Compressed air is effective in clearing dirt and debris from motor vents. After cleaning, reconnect the drain lines and pour clean water into the reservoir to activate the pump. This is an opportune moment to identify and address any leaks that require immediate attention.
Conclusion
Installing a condensate pump for your mini-split air conditioner is a straightforward process that significantly contributes to the unit’s overall efficiency. Proper installation ensures effective drainage, preventing water-related damage and potential electrical hazards. Remember that these steps are a general guideline and must be supplemented by the manufacturer’s provided instructions for a seamless installation process. A well-maintained condensate pump guarantees the smooth operation of your mini-split unit, facilitating a comfortable and worry-free indoor environment.


GIPHY App Key not set. Please check settings