
The heat exchanger within a furnace plays an indispensable role in the home heating process, facilitating the transfer of heat from the combustion chamber to the circulating air. As wear and tear accumulate over time, it becomes necessary to replace the heat exchanger. This comprehensive guide aims to provide a detailed walkthrough of the steps involved in replacing a furnace’s heat exchanger.
Step 1: Prioritize Safety
Safety should always be the primary concern when undertaking any furnace repair or replacement. Start by turning off the furnace’s power supply and ensuring that the gas is shut off. Allow the system to cool down completely before proceeding with any work.
Ensuring a safe working environment is fundamental to any successful furnace maintenance task. By following proper safety protocols, homeowners can mitigate potential risks and create a secure atmosphere for the replacement process.
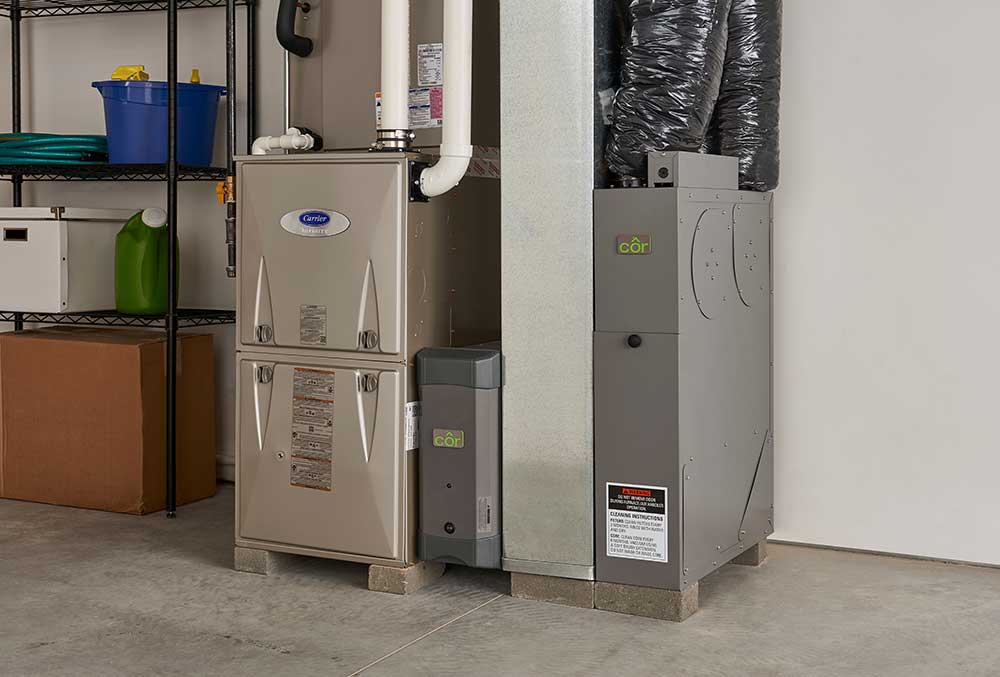
Step 2: Identify Furnace Type
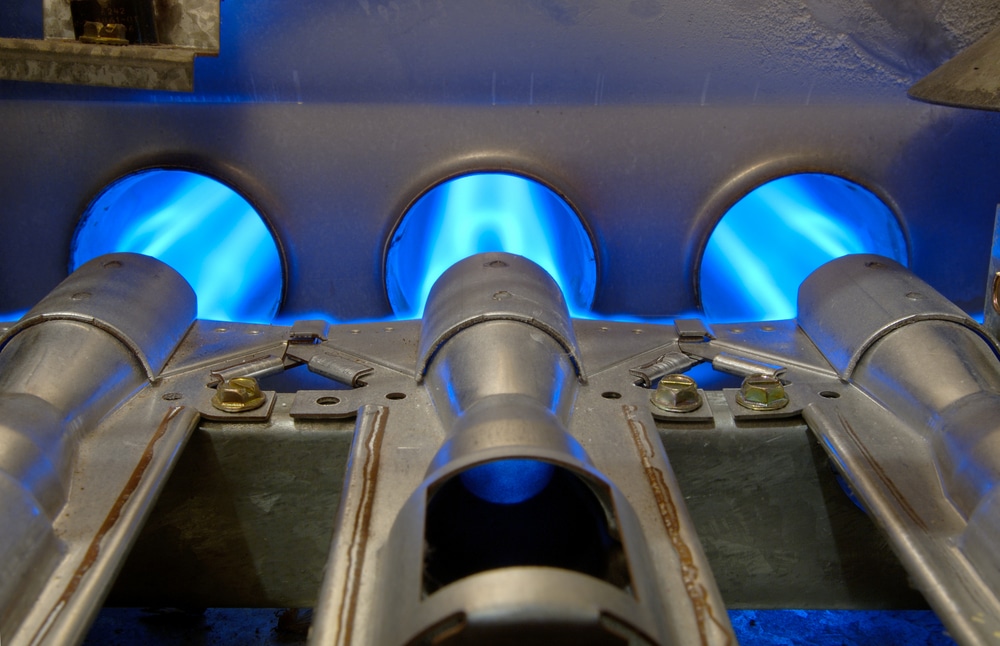
Various furnaces come equipped with different types of heat exchangers. It is crucial to identify the specific furnace type and its corresponding heat exchanger, such as clamshell, tubular, or serpentine heat exchangers.
Understanding the furnace type is the key to selecting the appropriate replacement heat exchanger. Each type has its unique characteristics, and a precise match ensures optimal performance and compatibility with the existing system.
Step 3: Access the Heat Exchanger
Gain visibility and access to the heat exchanger by removing the access panels. This step may involve unscrewing or unclipping panels, depending on the furnace model.
Accessing the heat exchanger is a critical step that allows for a thorough inspection of the unit. Proper access ensures that the replacement process is executed with precision and minimizes the risk of damage to surrounding components.
Step 4: Disconnect Components
Carefully disconnect the components attached to the heat exchanger, including burners, gas valve, and any electrical connections. Take note of the connections for proper reassembly during later stages.
Disconnected components pave the way for the safe removal of the old heat exchanger. This step demands attention to detail to avoid any damage to the components and streamline the subsequent installation of the new heat exchanger.
Step 5: Remove the Old Heat Exchanger
Once the components are detached, gently remove the old heat exchanger, ensuring that no surrounding elements are damaged during the extraction process.
Removing the old heat exchanger requires a delicate touch. Attention to detail is crucial to prevent any unintended damage, ensuring a smooth transition to the installation of the new unit.
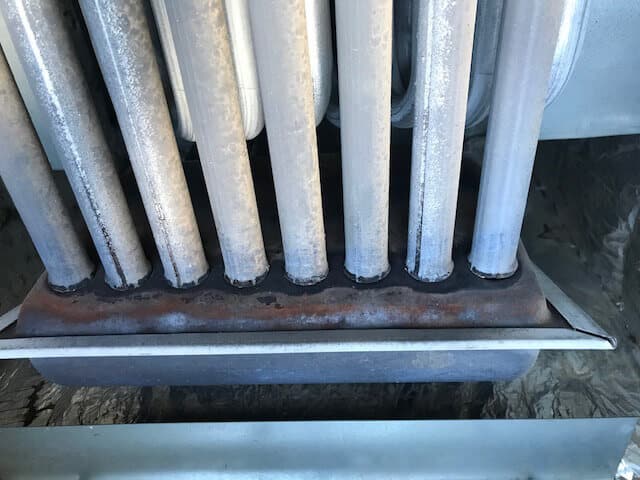
Step 6: Inspect for Additional Damage
With the old heat exchanger removed, conduct a thorough inspection of the surrounding components and the combustion chamber for any signs of damage. Address any issues before proceeding with the installation of the new heat exchanger.
An in-depth inspection is a proactive measure to identify and address potential issues. Addressing additional damage during the replacement process contributes to the overall longevity and efficiency of the furnace system.
Step 7: Install the New Heat Exchanger
Position the new heat exchanger securely in place, ensuring a proper fit and alignment with existing connections. Reattach the burners, gas valve, and electrical components in the reverse order of their removal.
The installation of the new heat exchanger is a pivotal step that demands precision. Proper alignment and secure attachment of components ensure the seamless integration of the replacement unit into the existing furnace system.
Step 8: Reassemble the Furnace
After securely placing the new heat exchanger, reassemble the furnace by attaching the access panels. Tighten all screws or clips to prevent any potential air leaks.
Reassembling the furnace is the final step in the physical replacement process. Attention to detail during this stage ensures the structural integrity of the furnace, preventing air leaks that could compromise its efficiency.
Step 9: System Testing
Before restoring power and gas supply to the furnace, conduct a thorough check to ensure that all components are properly connected. Turn on the power and gas, monitoring the system for any unusual sounds or smells.
System testing is the litmus test for the success of the heat exchanger replacement. Thorough checks and monitoring provide the necessary feedback to ensure that the furnace operates at peak performance without any issues.
Step 10: Regular Maintenance
To extend the lifespan of the new heat exchanger and ensure the optimal functioning of the furnace, schedule regular maintenance. This includes changing air filters, inspecting burners, and promptly addressing any issues that may arise.
Regular maintenance is the key to a furnace’s longevity and sustained efficiency. By adhering to a consistent schedule, homeowners can prevent potential problems, ensuring that their furnace operates reliably over an extended period.
Understanding the Importance of Furnace Maintenance
While the process of replacing a heat exchanger is vital for restoring a furnace’s functionality, ongoing maintenance is equally crucial. Regular upkeep not only extends the lifespan of the newly installed heat exchanger but also contributes to the overall efficiency of the furnace system.
Routine maintenance tasks include changing air filters, inspecting burners for any signs of wear, and promptly addressing any issues that may arise. By adhering to a regular maintenance schedule, homeowners can minimize the risk of unexpected breakdowns and ensure that their furnace operates at peak performance.
Conclusion
Replacing a heat exchanger in a furnace demands meticulous attention to safety and detail. By following the outlined steps, homeowners can navigate the process with confidence, contributing to the overall efficiency and longevity of their furnace systems. However, the journey doesn’t end with replacement; ongoing maintenance is key to preserving the newly installed heat exchanger and maintaining the furnace’s optimal performance. Regular upkeep ensures that the system operates smoothly, providing warmth and comfort to homes for years to come.


GIPHY App Key not set. Please check settings