
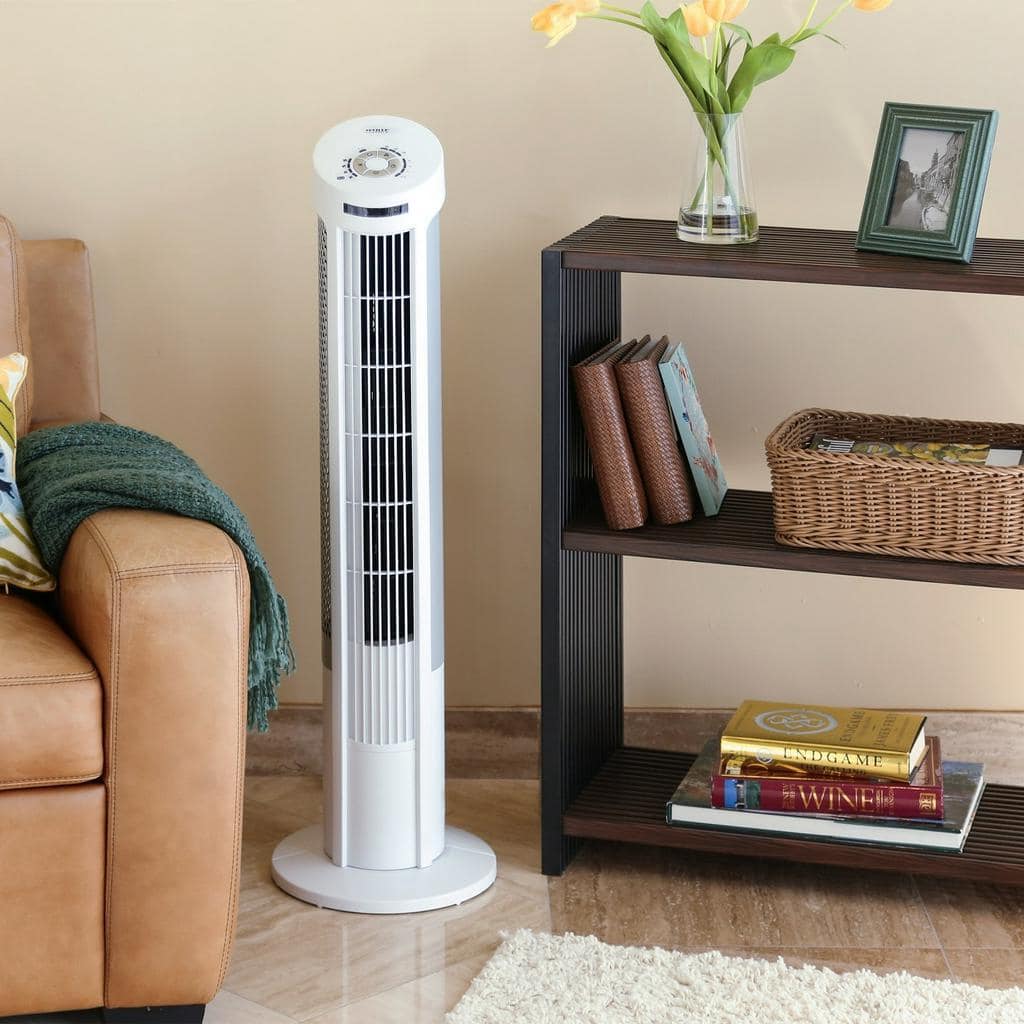
Tower fans made in Seville are stable and quiet. A Seville Classics fan may have been in your possession for a while, and you’re now wondering how to clean it at home. You don’t need to look any farther because we have already done the research to give you all the crucial details you require if you intend to disassemble and clean a Seville Classics Tower Fan.
You may properly disassemble and clean a Seville Classics Tower Fan using the step-by-step instructions provided below.
Disassembly:
- Plug the device out.
- Get rid of the primary control panel.
- Take off the bottom cover of the primary control panel.
- Take off the lid on the tower unit.motorRemove the two fan side panels.
- Taking off the bottom panels
- Take the main casing off.
Cleaning:
The fan motor’s inside and exterior dust can be cleaned up with a vacuum. You can also use a microfiber cloth, or any other soft material that won’t affect the surface of the device, to clean the disassembled bits of the case. Do not submerge the fan motor in water or any other liquid cleaning agent.
You might find it intimidating to unscrew and open the Seville Classics Tower Fans for cleaning because the motors are contained in a safe housing. Be aware that you have various options for cleaning your Seville Classics fan. Read on for a detailed explanation of how to disassemble and clean a Seville Classics fan.
How Should A Seville Classics Tower Fan Be Cleaned?

A Seville Classics Tower Fan can be easily cleaned, but it must first be disassembled. If you wish to disassemble your Seville Classics fan at home, see the list of required tools and the step-by-step instructions below.
Equipment For Disassembly:
- Screwdriver with slots
- Phillips screwdriver
Resources For Cleaning:
- Vacuum Cleaner
- Any soft, clean cloth, such as a microfiber cloth
The Best Way To Take A Seville Classics Tower Fan Apart

All the tools we described above must be ready before you can disassemble a Seville Classics Tower fan. Utilizing these tools is crucial because they are suitable for the numerous screws and notches that you will remove and unscrew.
You can avoid damaging the device by carefully using the right tools. Keep in mind that a damaged product may void the warranty on your fan.
Before beginning to disassemble the fan unit, unplug it from the socket once you have your tools ready. By doing this, you may avoid accidently turning on the fan motor while it is detached from its housing, which could harm you and the fan.
After unplugging the fan, tidy up the cable and start taking the fan apart.
Take Down The Primary Control Panel
The interface that houses the control panel’s buttons is known as the primary control panel. In order to later disconnect the main casing, you will need to remove this component of the fan.
Find the tiny notch in the top center of the cover to remove the main control panel. Pry the control panel case up using a slotted screwdriver.
Make sure to follow these steps precisely to avoid causing the casing to shatter. After making enough room with the slotted screwdriver, you can finish removing the casing with your hands.
When the cover has been removed, let it to dangle lightly on the fan’s side. The cabling from the control panel to the primary motor fan should not be pulled or moved.
Remove The Main Control Panel’s Bottom Cover
You’ll see another cover with five screws surrounding the surface below the primary control panel. Use the Phillips screwdriver to remove these screws.
Put the main control panel back on the bottom cover after removing the bottom cover’s screws, then do it all over again.
As opposed to dangling separately from its bottom cover, the main control panel will now dangle with its bottom cover.
Take Off The Tower Unit’s Cover
You must first remove the bottom cover of the main control panel before removing the tower unit’s cover. The Phillips screwdriver can be used to take off this lid as well.
First, remove the three screws that are attached to the bottom of the control panel’s surface around the corners of the surface.
Then remove the two screws that are attached to the control panel shell at the back, above the remote control slot. For eventual reassembly, set aside the five screws.
After removing the screws from below and behind the control panel shell, carefully raise it up so that it hangs next to the primary control panel.
As we previously stated, pay attention to the wiring and avoid removing it along with the primary control panel and its shell.
Remove The Fan’s Two Side Panels
There are two panels that run vertically on both sides along the front grille of the fan. Later on, you will have to remove these in order to remove the main case. Simply raise both side panels until they come free of the corner notches to remove them.
Get Rid Of The Bottom Panels
Place the tower unit lid, bottom casing, and main control panel back in their original positions without using any screws. After that, carefully place the fan horizontally on a clean, flat surface.
Locate the Seville Tower fan’s lower panels. The Phillips screwdriver can be used to remove the screws holding the bottom panels in place as well.
Before separating the right panel, you can first remove the left panel. Pull back the left panel until the inward-facing hooks separate from the inner notches by first removing the two screws. For the right panel, follow the same procedure.
Find the five screws at the top and remove the bottom panel on both sides. To remove the main casing, you must unscrew each of these fasteners. Save all five screws for reassembling the piece later.
Get Rid Of The Main Case
The main casing and the front grill of the fan can be separated when all the screws have been taken out.
The main casing can be removed in a manner similar to how the side panels of the fan grill were removed—by drawing it up until it separates from the notches.
A Seville Classics Tower Fan Cleaning Guide
Once every component of the Seville Classics fan has been taken apart, you should wipe each one with a microfiber towel or another soft, clean towel that won’t scratch the fan’s surface.
Fan motors should never be submerged in water or any other liquid for cleaning, just like any other machine. As an alternative, you can clean the tower fan’s hard-to-reach parts by using a vacuum.
Reassembling all the parts is as simple as cleaning the fan.
The procedure should proceed in the reverse sequence of how the tower fan was taken apart, beginning with the bottom panels.
Is It Possible To Clean A Seville Classics Tower Fan Without Taking It Apart?
While thoroughly cleaning a Seville Classics Tower fan requires removing all of its parts, you may still remove the dust from inside the fan without going to the difficulty of doing so.
It should be noted that it is not recommended to disassemble the Seville Classics Tower fan because doing so could void your warranty if the product is damaged in any way.
The only tools required for cleaning a Seville tower fan without disassembling it are a can of compressed air and an open area outside.
The best approach to clean a Seville tower fan is using compressed air, which may remove the dust from the fan’s front grills.
Make sure to direct the pressurized air can away from your face and toward the fan grills when using it.
To clean tower fans, utilize electric compressed air dusters. Similar to compressed air cans, electric compressed air dusters function similarly.
As we previously indicated, make sure to use the tool outside and to hold it so that dust will not be blown in your face.
Your eyes and respiratory system may become injured if you unintentionally breathe in dust. People who are sensitive to dust can potentially suffer major injuries from it.
Does Removing A Tower Fan’s Parts Void My Warranty?
The warranty provisions for each manufacturer’s products vary. After you’ve disassembled the product, one brand can void your warranty while another might not.
Seville Classics Tower aficionados strongly discourage their customers from disassembling their products.
Disassembling the device won’t necessarily terminate your warranty, though. The guarantee on your Seville Classics Tower fan will only be voided if there is clear user misuse, damage, or alteration.
To Sum Up
By removing the unit’s body, Seville Classics Tower Fans may be cleaned fully. However, the fan’s body is divided into several pieces, making disassembling it frightening.


GIPHY App Key not set. Please check settings