
In the realm of home improvement, the prospect of replacing a thermostat might seem like a task reserved for professionals. However, the truth is that with a bit of guidance, the process becomes not only manageable but also an empowering do-it-yourself (DIY) project. This guide aims to provide a detailed walkthrough for homeowners looking to replace their thermostat, emphasizing safety, efficiency, and cost-effectiveness.
Understanding the Need for Replacement

Before delving into the installation process, it’s essential to recognize the signs indicating the need for a new thermostat. Older thermostats may become inaccurate over time, leading to inefficient heating or cooling. Upgrading to a programmable thermostat not only addresses these accuracy issues but also opens the door to energy savings. According to the U.S. Department of Energy, a programmable thermostat, by scheduling temperature adjustments during periods of reduced demand, can result in savings of up to 10% annually on heating and cooling costs.
Turning Off the Power
Safety is paramount when working with electrical systems. Start by switching off the circuit breaker that powers your heating and cooling system at the main electrical panel. Take note of the voltage rating for the circuit, as installing the right thermostat and wiring is crucial to preventing electrical damage, shock, or fire hazards.
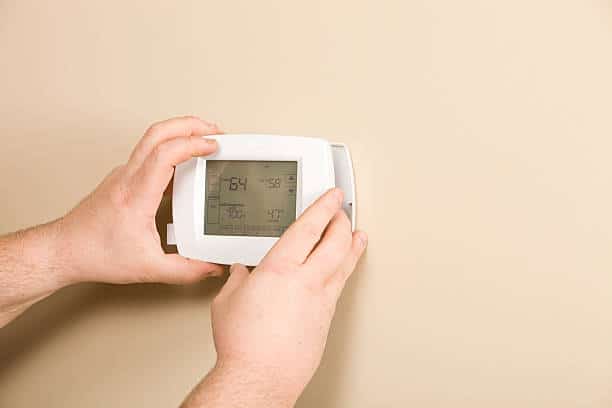
Removing the Old Thermostat
Begin the physical aspect of the installation by removing the old thermostat. This typically involves popping off the cover plate or using a screwdriver to unscrew it, depending on the model. The thermostat body and electronics are usually affixed to the wall with screws. Carefully unscrew these and pull out the unit without disconnecting the wires. To keep track of the wiring, utilize marking tabs or attach masking tape to each wire. Mark the letter corresponding to the terminal on the label where the wire is attached. Secure the wires to the wall to prevent them from falling back inside during the disconnection.
Installing a C-Wire
For those opting for a smart thermostat installation, a C-wire, also known as a common wire, is often required. This wire powers the thermostat independently of other appliances. Check if your HVAC control board, typically located in the furnace access panel or near the air conditioner, already has a C-wire. If present, connect it to the new thermostat.
In instances where a C-wire is absent, a power extender kit can be a valuable addition. Follow the manufacturer’s instructions, as some models include this kit. Another alternative is to use a 24-volt adapter with a C-wire, which plugs into a power outlet rather than connecting to the thermostat’s voltage terminals. Alternatively, for those less inclined toward DIY solutions, an electrician can install the C-wire directly to a terminal on the HVAC control board.
Installing the New Thermostat’s Faceplate
With the preparatory steps completed, it’s time to install the new thermostat. Most thermostats come with a faceplate that attaches to the wall in a standardized manner. Refer to the included fasteners and the mounting screw holes to mark where to drill. Proceed to drill 3/16 inch holes and insert drywall anchors. Separate the new thermostat from its base and securely screw the base into the wall, ensuring it is level.
Connecting the Thermostat Wiring
One of the critical steps in thermostat installation is connecting the wiring. Match each wire to the appropriate screw terminal using the labels created earlier. Connect and secure the low-voltage wires to the base, following the installation diagram found in the owner’s manual. Tighten each terminal screw, and if your thermostat requires batteries, install them at this stage.
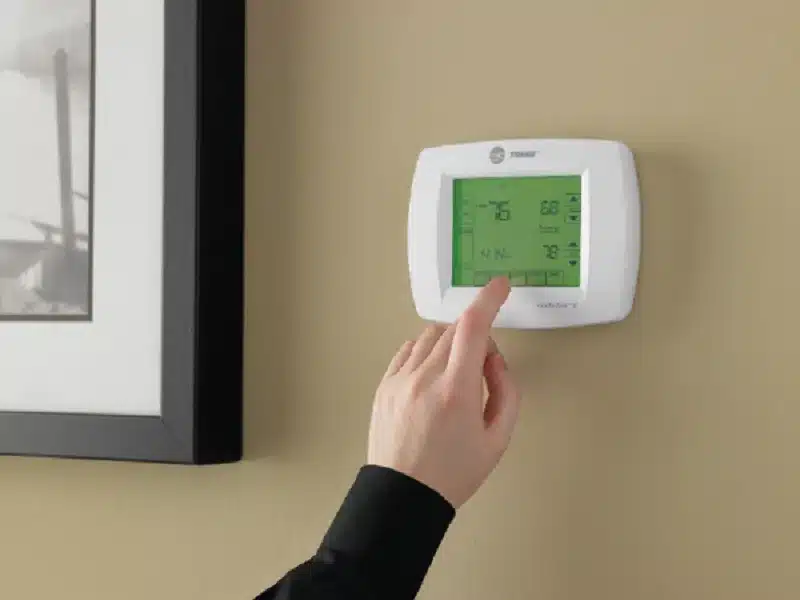
Mounting the Thermostat
With the wiring securely in place, gently insert any excess wiring into the wall opening. Use fiberglass insulation to seal gaps, providing fire resistance and preventing drafts. Secure the thermostat to the base with screws if needed, or snap it in place. Now, it’s time to turn the circuit breaker back on, press the reset button, and proceed to program the thermostat. Testing is crucial at this stage to ensure seamless functionality with your HVAC system.
In Conclusion
Embarking on a thermostat installation journey as a homeowner is not only feasible but also rewarding. Beyond the potential cost savings, this DIY approach allows for a sense of accomplishment and empowerment. By taking control of your thermostat installation, you contribute not only to your home’s energy efficiency but also to your comfort and peace of mind. It’s a small yet impactful step toward a more sustainable and self-sufficient household.


GIPHY App Key not set. Please check settings